Ganja

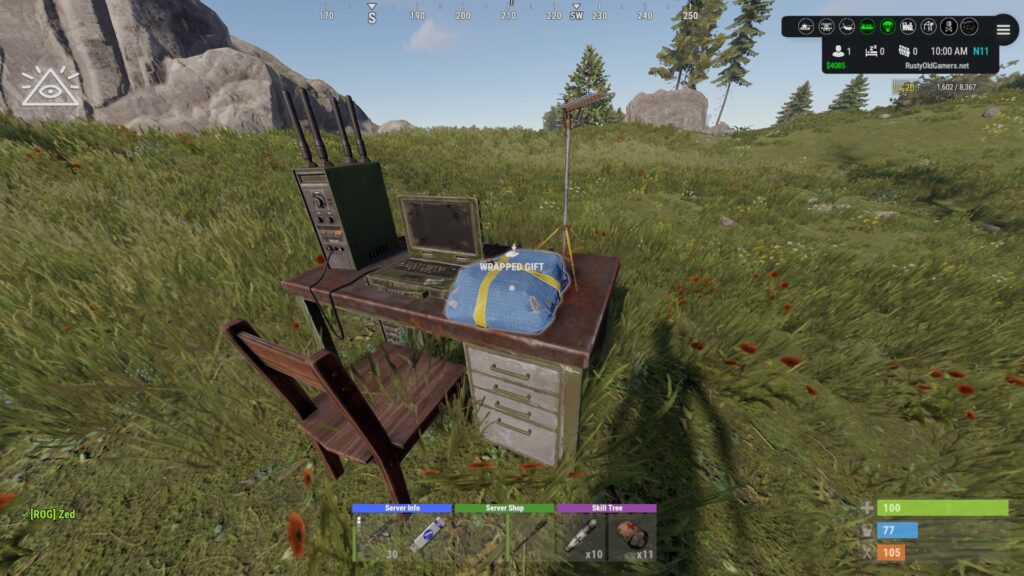
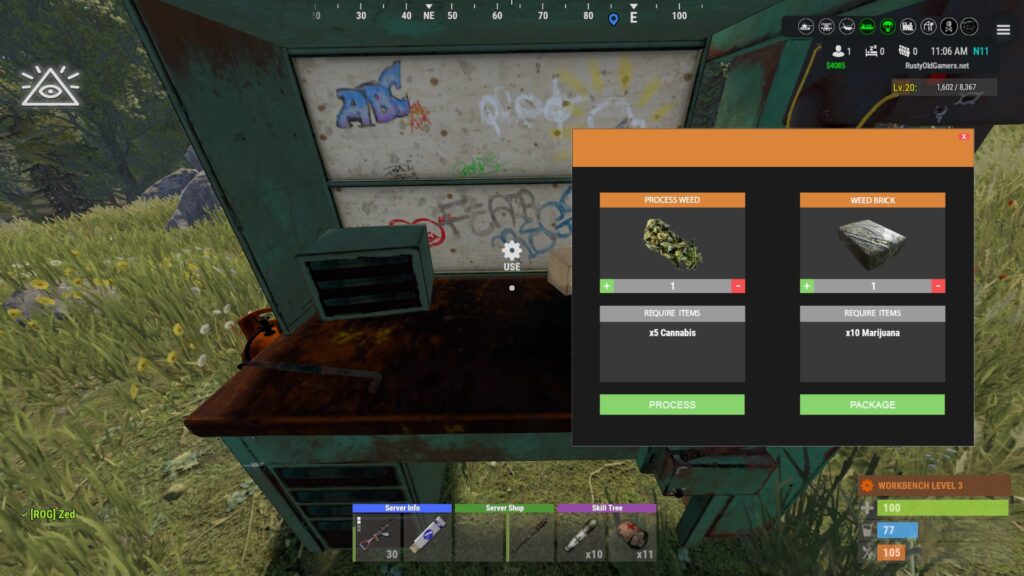
This plugin allows players to gather weed from hemp plants and craft joints using a mixing table. There are different types of weed that can be found while harvesting hemp. Joints can be crafted at a mixing table and they give the player configurable buffs and healing with each tier having different effects.

■ A Low Quality joint will give players a 20 second boost in wood gathering.
■ A Medium Quality joint will give players a 20 second boost in ore gathering
■ A High Quality joint will give players a 30 second boost in scrap gathering, an increase of max health and +8 health per usage.

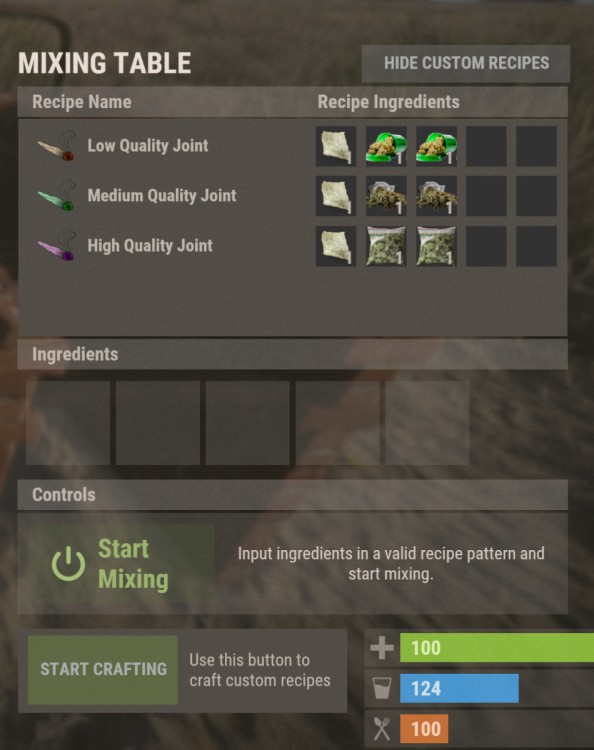
To craft a joint, gather the required materials and open a mixing table. If you see the normal mixing items (ie: Teas), then click on the Show Custom Recipes button. Put the ingredients into the mixing table and click on Start Crafting (NOT Start Mixing).

The joint will be instantly crafted. The effects of the joints work alongside of the Skill Tree and Epic Loot plugins.

To use a joint, put it into your tool bar, select it, and right click. This will light the joint. Press left mouse button to puff. You will see multiple colors flash on your screen. This is how you know you’ve puffed. If you puff again while you have the effects as indicated by “Boost Active”, the effects will NOT stack. You will just be wasting your joints.

Item Puller

Item Puller allows you to pull components from your containers, including your TC. To use, simply double click the item in the crafting menu. This will pull the required ingredients for from the containers that have the components. If it successfully finds all ingredients needed it will then move the items to your inventory, if enough slots are available. If you have autocraft enabled (default is enabled), it will instantly start crafting the selected item for you. If you are missing items it will notify you via a chat message.

Available Commands:

  • /ip – toggles item puller on/off
  • /ip autocraft – toggles autocraft on/off
  • /ip fromtc – toggle tool cupboard pulling on/off
  • /ip settings – shows your current settings

Drug Business

The Drug Business plugin allows players to buy Weed and Coca seeds, which can then be planted and grown by the player. To buy the seeds, the player has to find a VPN. They can be found from various loot sources. Once you have a VPN, put it in your hotbar, go to any computer terminal and sit down. The drug purchase screen will open up. Seeds are purchased with eco coins.

Click on the Order button for the seeds you want. To see where the dealer is that buys the drugs, click on Locate. The dealer is ONLY active from 9pm until 5am. Afterall, drug dealing isn’t something to be done in the daylight!

Once you’ve clicked on order, you can change the quantity on the next screen by clicking on the number in the Quantity column and typing in the new quantity. Click on Purchase to buy the seeds.

You will then get a notification that the seeds are on their way. They will be delivered by drone and will be dropped directly onto your computer desk. If your computer is inside, the seeds will be dropped on the roof above the computer. It is recommended that if your computer is inside, that you go outside and watch for the done. The package will look like a wrapped package. Open the package and your seeds will be inside.

IMPORTANT NOTE: If you have trees/powerlines or other obstructions above your base, this may interfere with the delivery of your seeds. You may want to have a dedicated outdoor computer station for the delivery of the seeds.

Once you’ve grown the plants, go to a T3 Workbench to process Weed and type /process.

To process Coca leaves into Cocaine, you need to go to a mixing table and type /process.

Once you’ve crafted your drugs, go to the dealer between the hours of 9pm and 5am (See the note above about using “Locate”). Once at the dealer, interact with him (Don’t worry about the “Invite” prompt. It’s a Rust thing) to sell your weed or cocaine.

NPC Raiders

The NPC Raiders plugins allows players to have their base raided by NPC’s. The NPC’s will get progressively harder with every wave. If they destroy your TC, they are finished.

NPC Raiders commands:

/raidme – Will show raid help menu.
/raidme buy – Will show raid buy help menu and costs.
/raidme buy <type> – To start raid of the type.

Additional information including videos can be found on the plugin page: https://chaoscode.io/resources/npc-raiders.270/

Base Utility/Building Skins/Base Grades

This guide covers three different plugins that are all linked together.

Base Utility

This plugin plugin provides two features. First is a Base Upgrade function. By opening the TC, you will see an Upgrade button. Click on it and choose what you want to upgrade your entire base to. The resources are taken directly from your TC. If you click on the Skin button, you can choose a default skin that will be applied when you upgrade your base.

Building Skins

This plugin integrates with the Base Utility plugin as shown above. It also allows a player to upgrade any base parts to any of the DLC building skins by using the hammer. Just equip the hammer, right click while looking at the base part to upgrade and use the Q and E keys to select the building skin you want to use.

Base Grades

Base Grades lets you automatically place building parts at a certain level, for example, while placing foundations, you can have it automatically place stone foundations.

To do this, you issue the command /bgrade 1/2/3/4. Each number represents a level:

  1. Wood
  2. Stone
  3. Metal
  4. Armor

ie: /bgrade 3 would allow you to build Metal parts.

You must have enough wood plus the materials to upgrade to in order to upgrade automatically while building. So, to build stone foundations, you would need both wood and stone in your inventory.

Item Perks

Item Perks is a plugin that enhances everyday weapons, tools and armor with over 50 different types of perks.

Items with perks can be obtained a variety of ways, including:

  • Finding them randomly in crates or barrels during your morning scrap farm.
  • Randomly crafting an enhanced version of your equipment while you roof camp noobs from your base.
  • Recycling enhanced equipment and finding enhancement kits stuck in the teeth of the recycler.

How to use an enhancement kit:

Once you find an enhancement kit, you can go to a workbench and click on the button to enhance an item.

Next, choose which enhancement kit you want to use.

After that, you’ll select which item you want to enhance. Items can receive several enhancements if you have multiple enhancement kits.

The next page will give you a rundown of what the enhancement will provide. You can decide if you want to confirm or reset your choice.

Once you press the Confirm button, your item is enhanced. Wear or equp the item to see the bonuses provided by clicking on the icon to the left of the hotbar..

Building Skins

Plugin webpage: https://codefling.com/plugins/building-skins

The Building Skins plugin allows you to use the DLC Building Skins without owning the DLC’s. To use these skins, do the following:

Use the /bskin command to switch modes. This will open a window like the one to the left.

To update the skin for existing building blocks, you need to activate the skin and hit the block with a hammer. The block will be updated with the selected skin.

To change the skin for all buildings using the /bskin build or /bskin all command, you need to select a skin mode. Depending on the mode you choose, the skin will be updated.

Marketplace

The Marketplace plugin allows you to find items for sale in vending machines through a nice user interface. Follow these steps:

Type in what you are looking for in the search box or click on the item if it’s already displayed.

You’ll see a list of where the item is being sold (unless no one is selling it).

Click on View and then Set Marker.

Close the UI and open your map, and you’ll see the Shop marked! (edited)

Sign Manager

Provides a UI for signs so that players can save and restore up to 25 designs. The command for the UI is
/sm. This allows you to rapidly deploy new signs/pictures all over your base!

Step 1: Deploy a sign and use the /sil command to paste the picture or draw a picture.

Step 2: Type /sm and click on Save Image.

Now when you have a new sign, you can open the Sign Manager plugin with /sm, find the picture you want to use and click on “Set”.

Medical Items

The Medical Items plugin adds two items to the game: A Defib and a Medical Box. Both can be found in loot boxes in the world. In order to craft these items, you must first find one, then research it at a Research Bench. When you open a T2 or T3 workbench, you will see a new button that says “Medical Items”. That’s where the crafting menu is for these two items.

The defibrillator can do 2 things:

  • Recover a player from a wounded state immediately, with a risk of the defibrillator breaking (default: 10% chance), removing any bleeding effects that the target has and bringing them back on 10hp.
  • Resurrect a dead player, spawning them back at the position of their body, but breaking the defibrillator. The player spawns a “new” body, and must still loot their items.

The medical box is a deployable, reskinned, wooden box that heals any player within x metres for x amount of health per every x seconds, x amount of times.

For example, using the default values, the box will heal any player within 5m for 20 health every 3 seconds, for a maximum of 10 times.