This guide is NOT a complete step by step guide to this monument simply because once you’re inside of the Zeppelin, it’s a maze of corridors that you will need to figure out yourself. I will provide guidance in this post to the best of my ability. Be sure to bring several fuses and a few of each type of key cards.

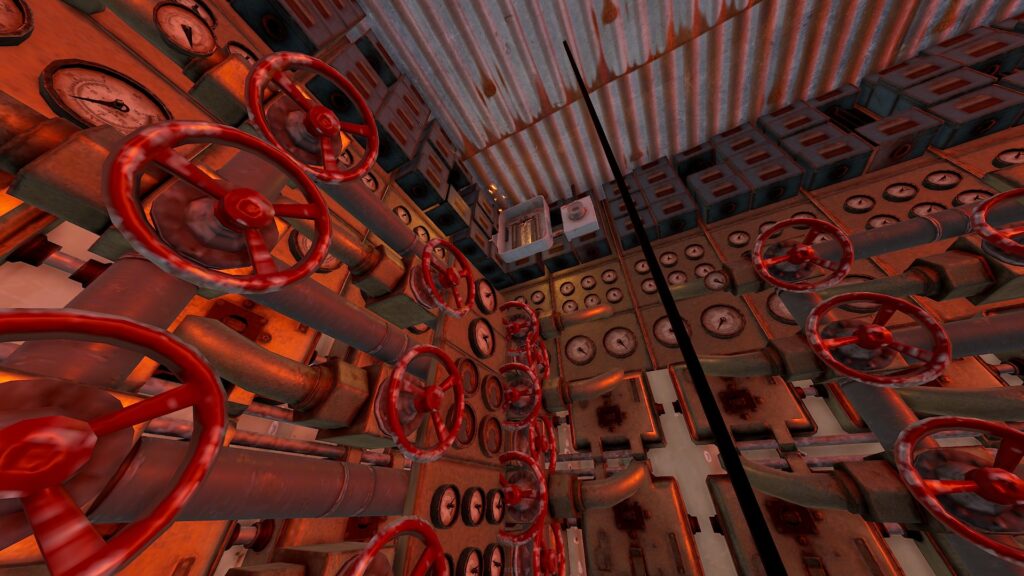
After eliminating the first few guards, make your way to this thin black wire and walk on it to the first fuse box.
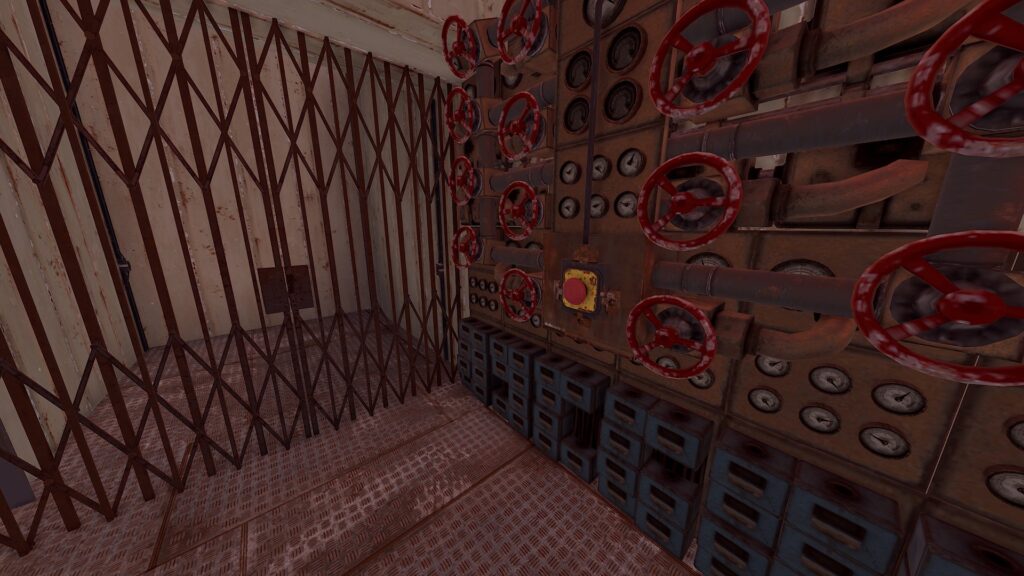
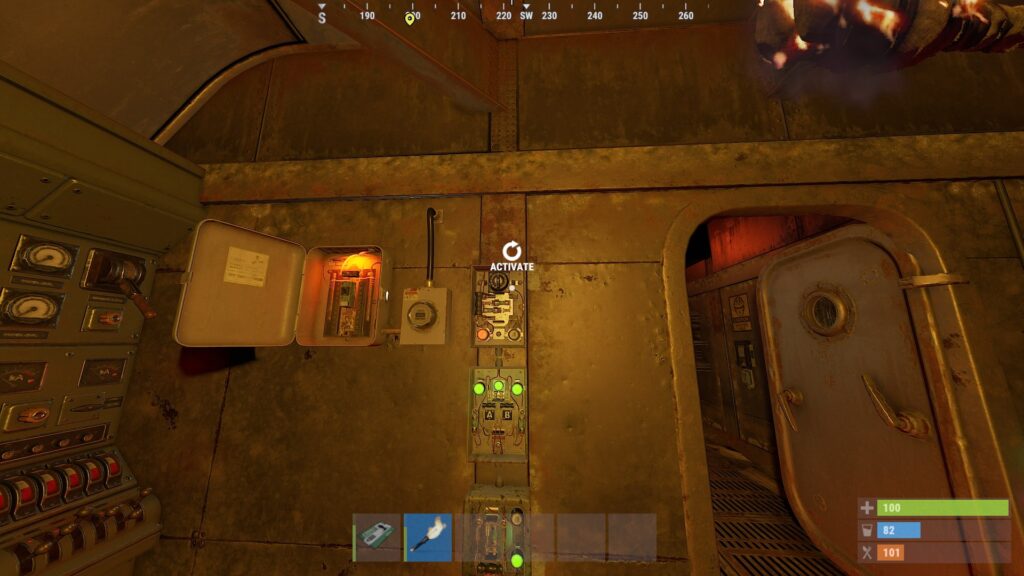
This is the first fuse box. Drop the fuse in and run to the control room. You should have already eliminated the guards inside the zeppelin.
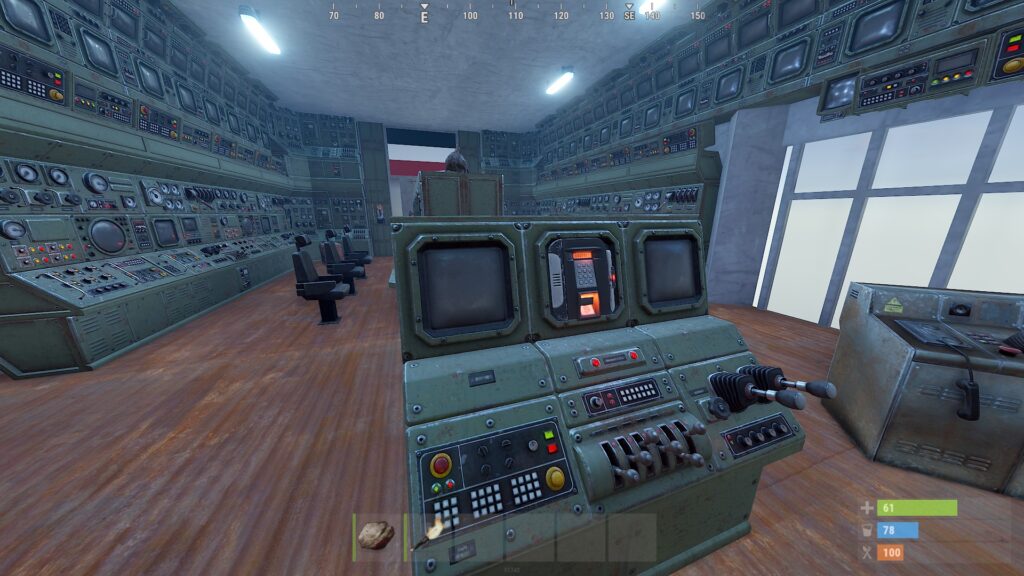
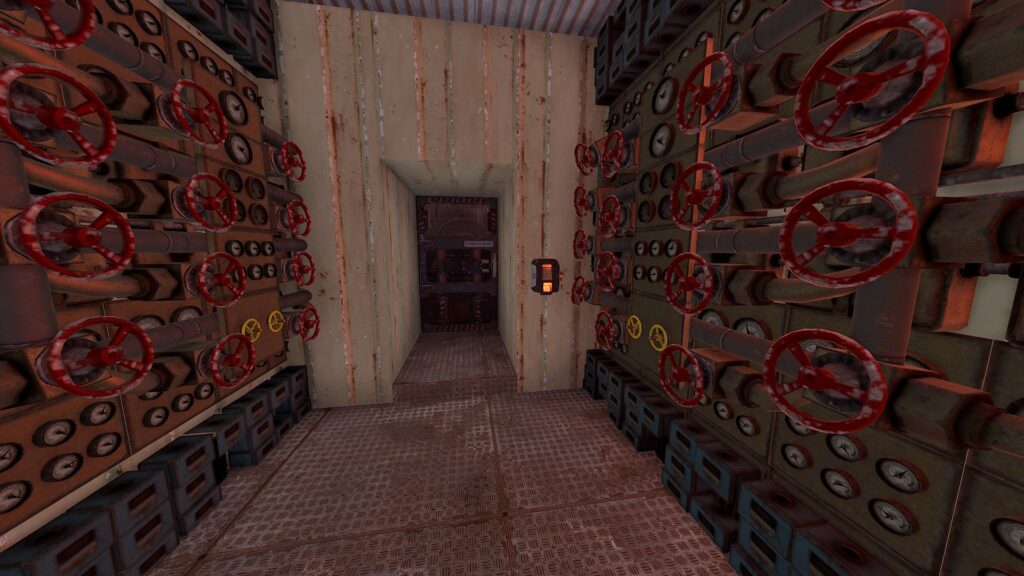
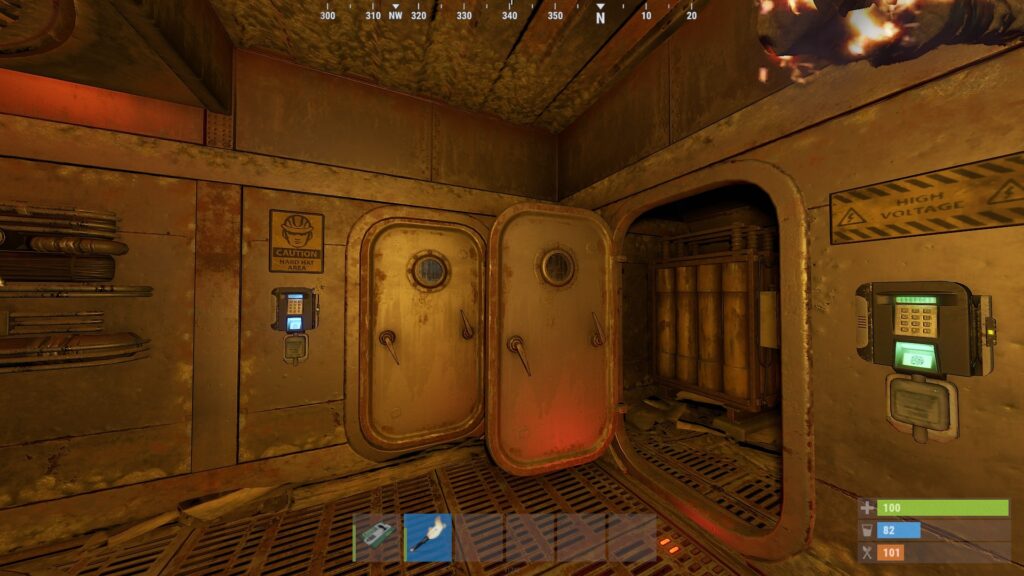
Inside of the control room, near the front, you should see the red card swipe pad. Swipe your red card and head for the blast doors on the other side.
Make your way through the hallway and find the red button on the right to call the elevator.
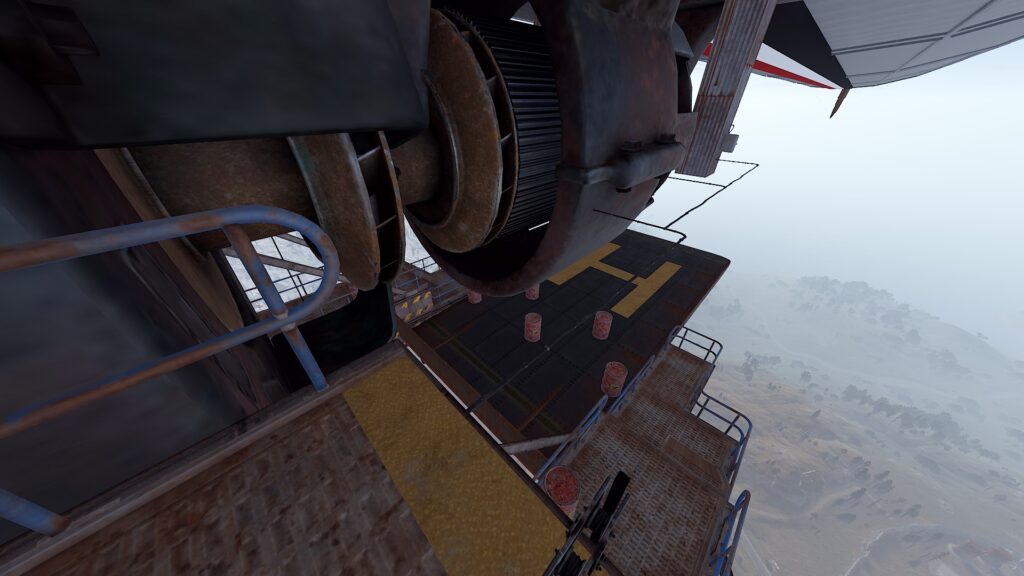
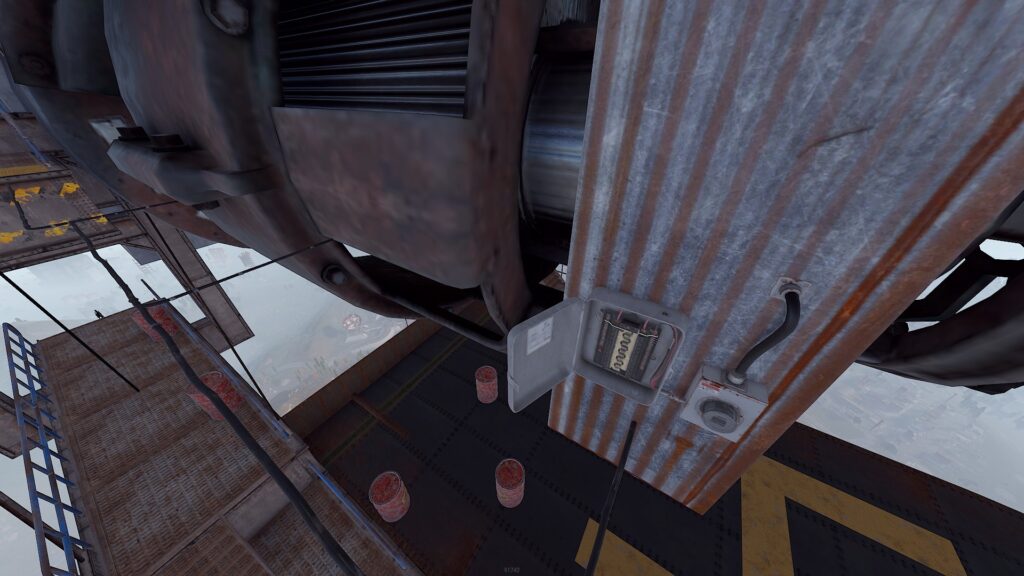
Take the elevator to the top and find the fuse holder, high up on the wall to the right.
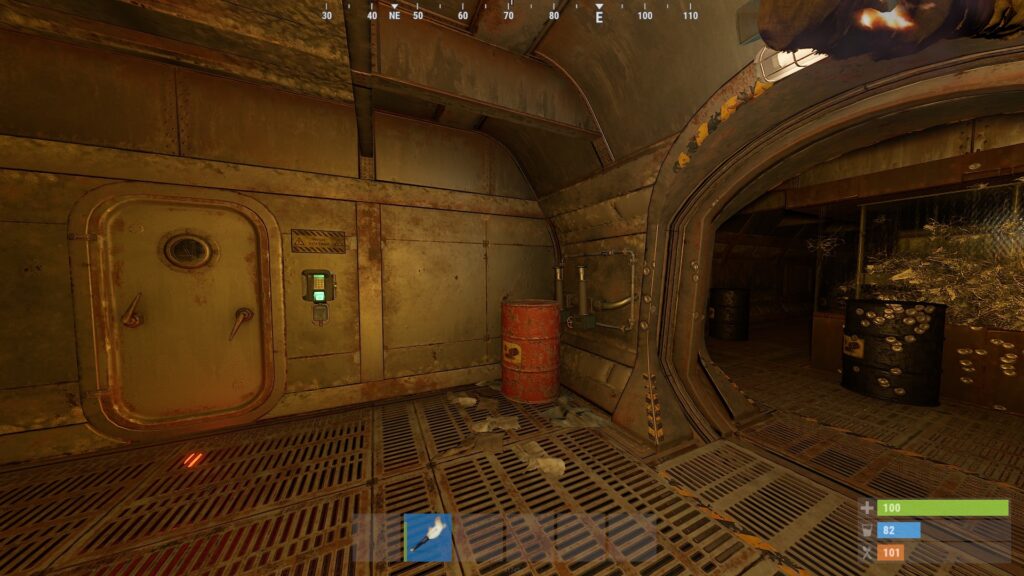
It’s opposite of the security door.
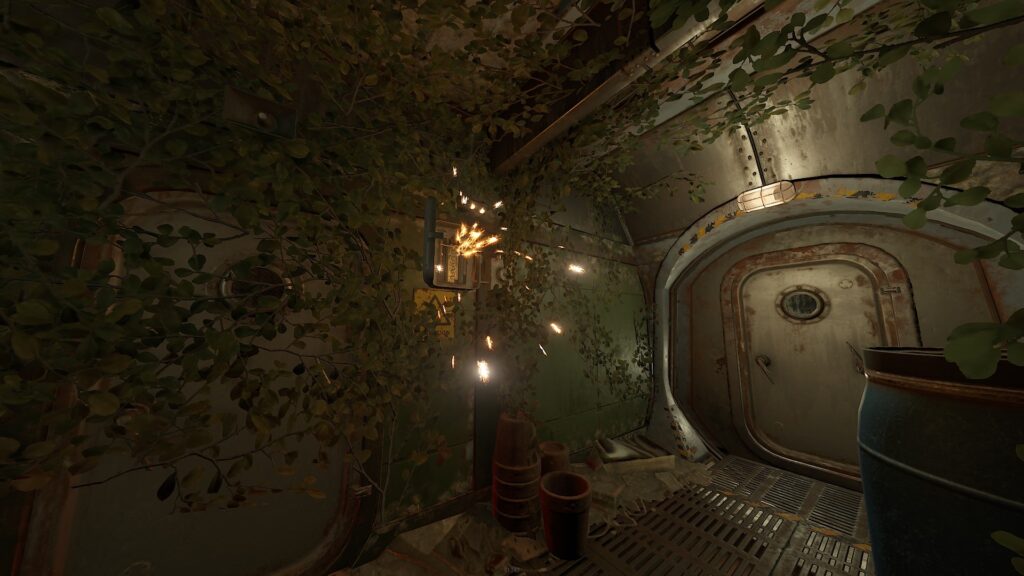
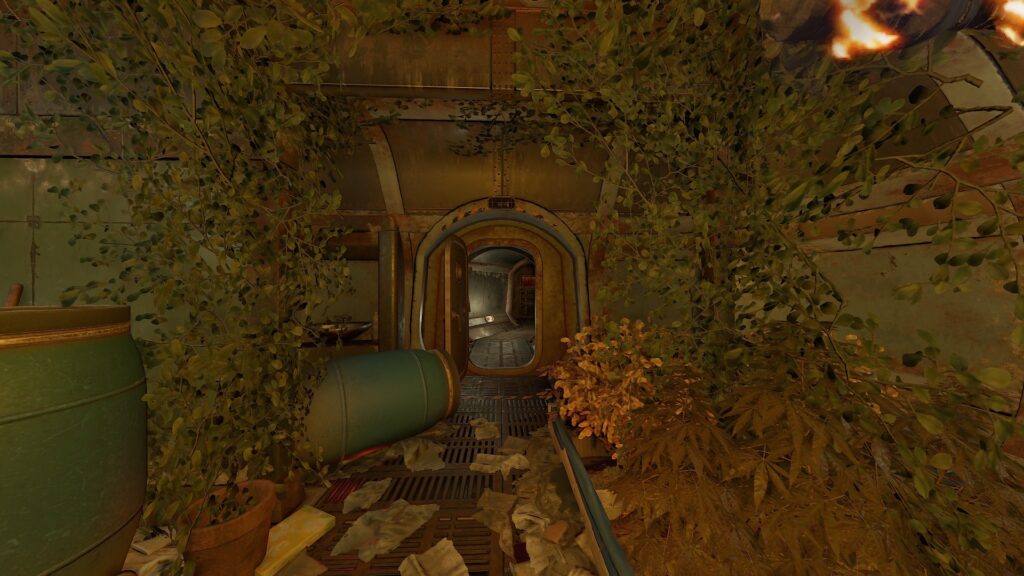
Roam around until you find a room with overgrown vines. There’s a fuse box up on the wall.
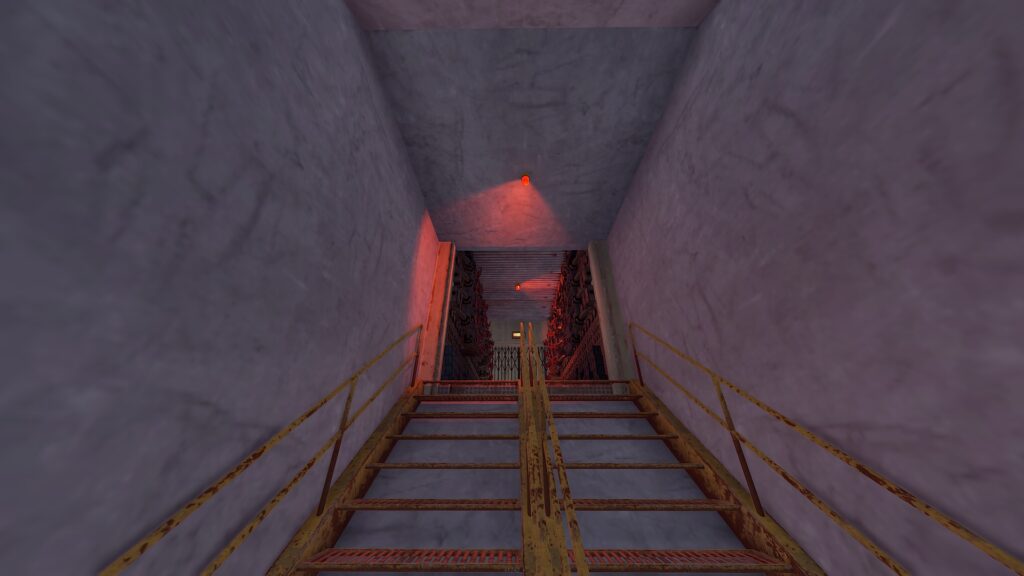
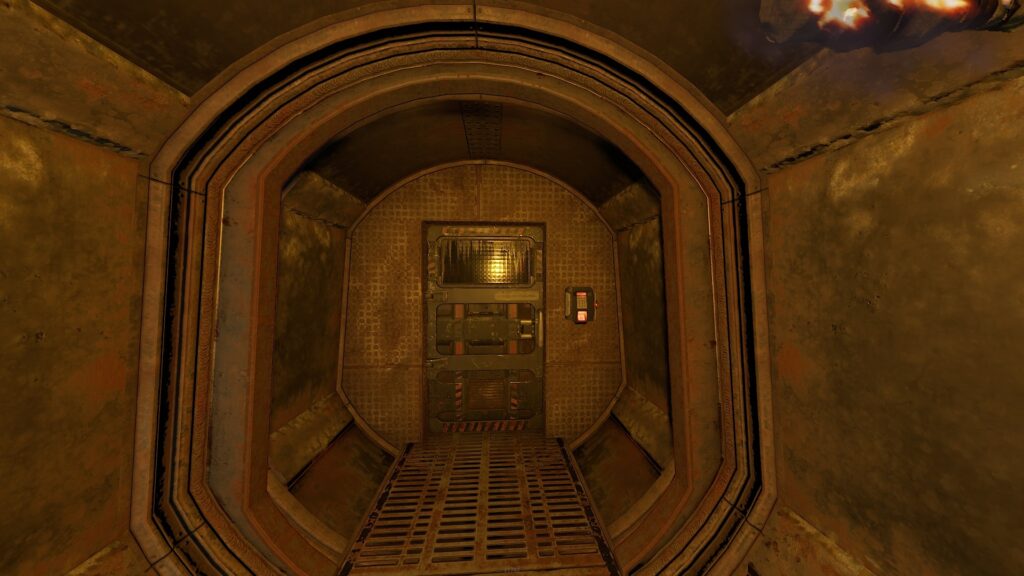
Open the door directly across from the fuse box and proceed down the cooridor.
You’ll find a red card reader. Swipe the card and proceed in.
On the other side of the locked center room you’ll encounter heavies so be ready for them! Once they’re cleared, you’ll be in another room with a lit up green card reader and an unlit blue card reader. Swipe the green card reader and enter that room.
Inside of that room is a fuse box. Drop a Fuse in there.
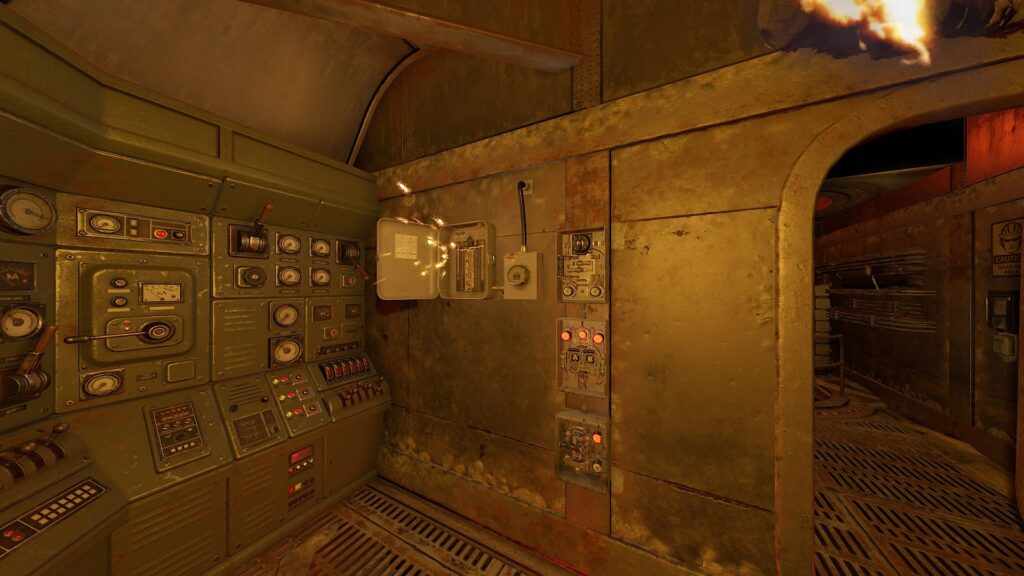
Turn on the bottom switch and activate the top switch. This turns on the blue card reader in the other room.
Enter the blue room and find the fuse. That’s the fuse for the red door in the center of the room that held the heavies. This is where the motherlode of loot is.
The red room that you just activated.
The loot!

Good luck. You’re going to need it!